
To Prep:
1. Don’t use nail polish remover. The nail bed has to be completely free of oils before painting for your longest lasting manicure. Most removers are fortified with vitamin oils and glycerine, creating a slippery surface for polish that leads to chips. Skip the nail polish remover and scrub nails with a brush (an old toothbrush will do) and hand soap instead, then dab on a small amount of 70% rubbing alcohol-30% water solution with a lint free cotton pad, like these Swisspers Cotton Rounds ($2.89).
2. Use a crystal file. Traditional files made from cardboard and metal, and are too harsh. Instead, opt for a crystal file, like this Crystal Nail File ($12) from Sephora, which smooths the edge of the nail instead of ripping into it.
3. Make sure cuticles are properly pushed back. Cuticle left on the nail bed can cause the polish to peel up. If you’re doing your pedi at home, use this Tweezerman Pushy Cuticle Pusher ($17).
4. Choose your base coat wisely. Choose the same brand of base as your top coat and polish because, all brands formulate their products to work best together. I recommends Orly ‘Bonder’ Base Coat ($7.10), a rubberized base coat that grips the polish and makes it go on smoother.

During Application:
Never paint in a draft. This causes bubbles! Only expose your toes to cool air after two coats of polish has been applied to the nail.
Use a good top coat. I recommend Seche Vite Quick Drying Top Coat ($9.99).
Try nail wraps instead of polish. Dry nail polish or nail wraps like OPI Lacquer Strips ($12) or Sally Hansen Salon Effects because they are “easy and long wearing.”
Use a drying accelerator. Quick drying drops like Qtica Half Time Drying Accelerator ($19) extends the wear of polish and leave polish rock hard in 5-10 minutes.
Post-Pedicure:
Avoid contact for 30 minutes. While your polish may seem dry after 5-10 minutes, avoid direct contact on the toes for at least 30 minutes. This means no closed-toe shoes, walking in sand, or dancing in the streets. Sorry!
Apply ointment to calluses. To keep heels and hard callus areas smooth between pedicures, useKerasal Moisturizing Foot Ointment ($9.99) which contains salicylic acid and urea.
Moisturize. ”A good moisturizer is also essential,” I recommend Weleda “Skin Food” or Ahava Mineral Hand Cream ($21).
Reapply a thin layer of topcoat after 5-7 days. About a week or so after your pedicure, reapply use a thin top coat, like Revlon Top Coat or Wet N’ Wild Top Coat, which protect the polish without appearing too thick.
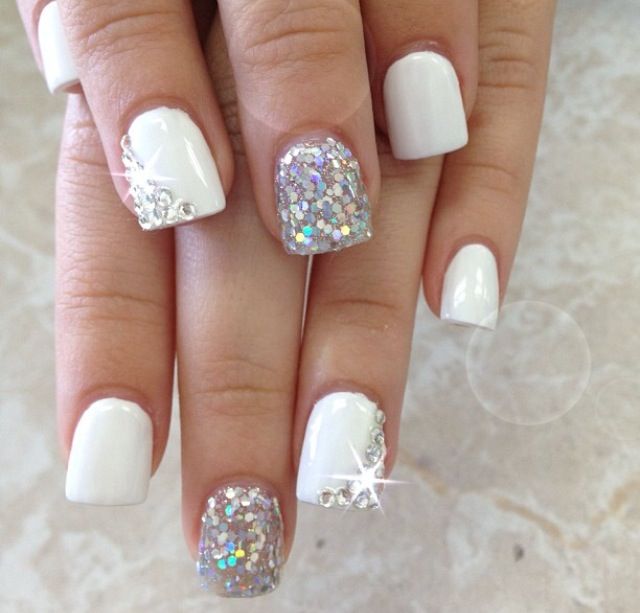
Hide chips with a coat of glitter. Apply a coat of glitter on the tip of the nail bed, similar to a French manicure but with glitter instead of a white stripe. You can also apply glitter to the whole nail, and then always follow with a thin layer of top coat.
Cover chips with polish and a thin layer of top coat. It’s very simple to fix a chipped nail. “Get the color or a very similar color and dab a very thin layer of polish to cover the chip. Then apply a thin layer of top coat.” Now, you’re good to go!
Hopefully this has been helpful for my readers! Please follow me on twitter @missdiva87 and share your pedi stores!
No comments:
Post a Comment